How to Change the Default Time Zone in Gmail

Managing emails across teams in different time zones can be overwhelming. Learn how to change your default Gmail time zone and keep on top of your schedule.
Have you noticed the timestamps on your Gmail messages don’t quite match what you (or your colleagues) expect?
Globe-trotting travelers aside, this is a real problem for business workers who deal with colleagues in multiple time zones. If you need to schedule meetings or track urgent deadlines, the wrong time can put you out of sync with everyone else.
Fortunately, there’s a way to change your default timezone in Gmail. This’ll allow you to ensure that your emails are always synced with your current (or preferred) location. We’ll show you how to do it below.
Why Should You Change the Default Time Zone in Gmail?
You might want to change your default timezone in Gmail for several reasons. For example:
- You travel frequently and want to adjust your email settings to match your new locations.
- You work with people from different time zones and want to avoid misunderstandings or missed deadlines.
- Google assigns you a Gmail timezone based on your IP or device settings and you want to change it manually.
Whatever your reason, changing your default timezone in Gmail can help you manage your email communication better.
How to Change the Default Time Zone in Gmail on a PC or Mac
Changing your default timezone in Gmail on your PC or Mac isn’t as straightforward as you might think. You can’t do it directly from the Gmail app or website.
Instead, you’ll need to access your Google Calendar settings and adjust them there.
To change your default timezone in Gmail on a PC or Mac:
- Log in to your Gmail account on a web browser.
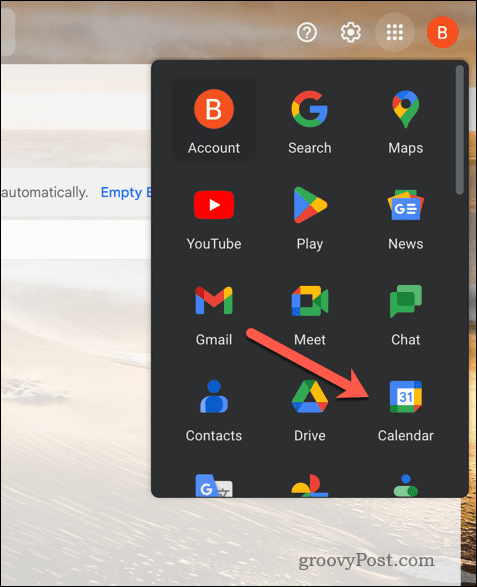
- In the upper right-hand corner, click Google apps (the icon with a grid of nine squares), then Calendar.

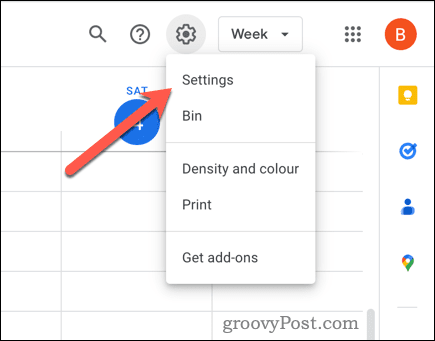
- From within your Calendar, click the gear icon in the top right-hand corner and select Settings.

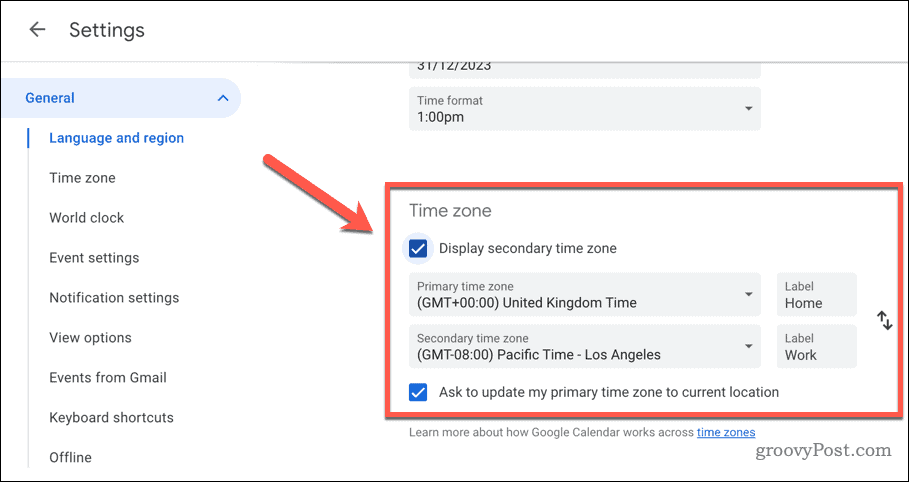
- On the General tab, scroll down to the Time zone section.
- From the drop-down menus, choose a new Primary time zone from the drop-down menu.
- You can also select a Secondary time zone if you want to see both times on your calendar, but make sure that the Display secondary time zone checkbox is enabled first. You can also set labels for each time zone (e.g., work or home).
- If you want your time zone to update based on your current location, ensure the Ask to update my primary time zone to current location checkbox is enabled.

Any changes to your settings above will be saved automatically and will apply across your Google services (including Gmail). Once you’ve completed these changes, your emails will show the correct timestamps according to your chosen time zone. You can also schedule emails or set reminders based on this setting.
How to Change the Default Time Zone in Gmail on Android or iPhone
Changing your default Gmail time zone is a little easier if you prefer to use Gmail on your Android or iPhone device. Rather than change your settings in Google Calendar, you’ll need to change the settings on your device instead.
One word of warning, however. Changing the time zone settings on your device will also affect other apps that use date and time data this way, such as the Calendar or your Clock. If you don’t want to do this, you must leave your time zone settings intact.
On Android
As Android devices’ user interface varies, these steps are likely to work for most users, but there may be some variety. This will depend on your device manufacturer or Android version.
To change Gmail time zone settings on Android:
- Open the Settings app on your device.
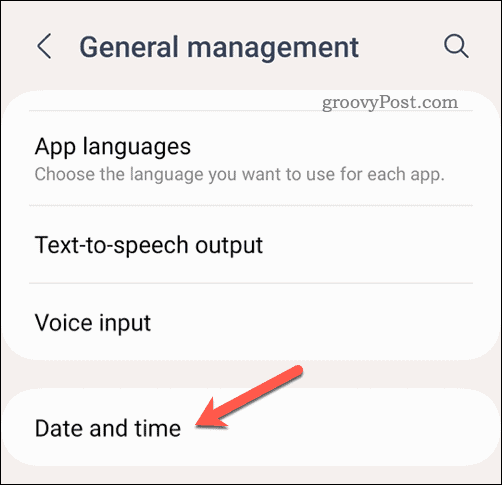
- Locate and tap the Date & time menu.
- This could be listed under System > Date & time, General > Date & time, General management > Date & time, or similar, depending on your Android version and manufacturer.

- This could be listed under System > Date & time, General > Date & time, General management > Date & time, or similar, depending on your Android version and manufacturer.
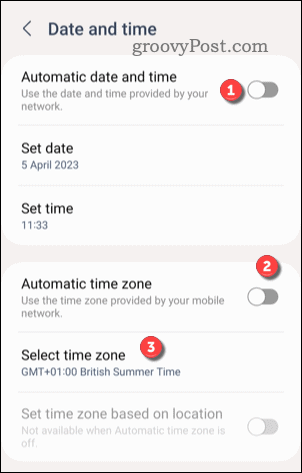
- In the Date & time menu, disable any settings for Automatic date & time and Automatic time zone (or similar).
- Tap Select time zone (or similar) and choose your preferred time zone from the list.

Once you’ve updated your time zone settings, re-open the Gmail app—the settings should apply immediately.
On iPhone or iPad
To change Gmail time zone settings on iPhone or iPad:
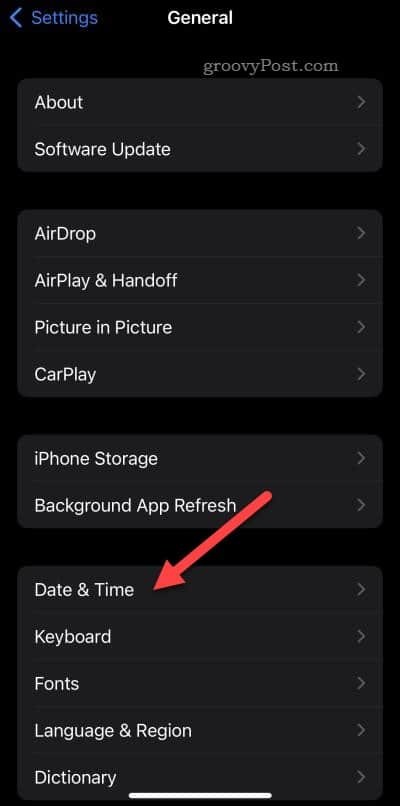
- Open the Settings app.
- Go to General > Date & Time.

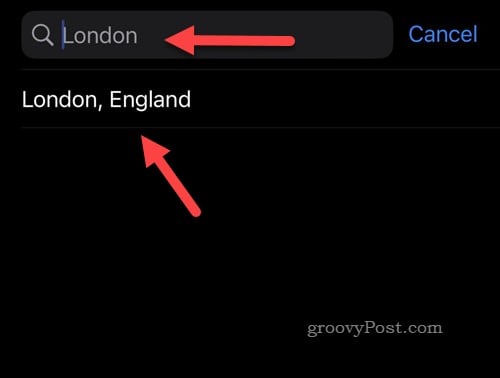
- Turn off the Set Automatically slider, then tap Time Zone.

- Choose your preferred timezone from the list or by using the search bar above it to search for alternatives.


At this point, you’ll have successfully changed your default timezone settings. All your emails will show the correct timestamps according to your chosen time zone. You can also schedule emails or set reminders based on this setting.
Managing Your Settings in Gmail
Changing your default timezone in Gmail can help you avoid confusion and improve your productivity if you work across multiple time zones.
Want to help your team keep on top of your schedule to help plan important meetings? You can always share your Google calendar to make it easier for others to know what you’re doing (and when). It’s also a good idea to set a default view in Google Calendar so that the important dates (and meetings) pop out a little easier.
Sick of the usual Gmail interface? Don’t use it—switch to a third-party Gmail client and take advantage of new features and settings instead.